Why Create Vendor Logins?
Vendor logins allow your vendors to independently monitor payouts, track splits, review inventory, and export reporting data as CSV files.
Creating a New Vendor Login
- Select Vendors.

- Click the Create new vendor login button.

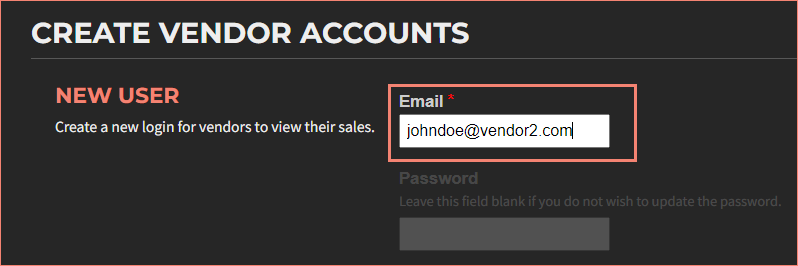
- Enter the email address.
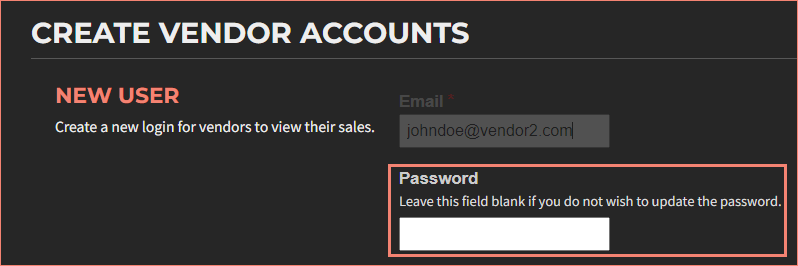
- Enter a password.
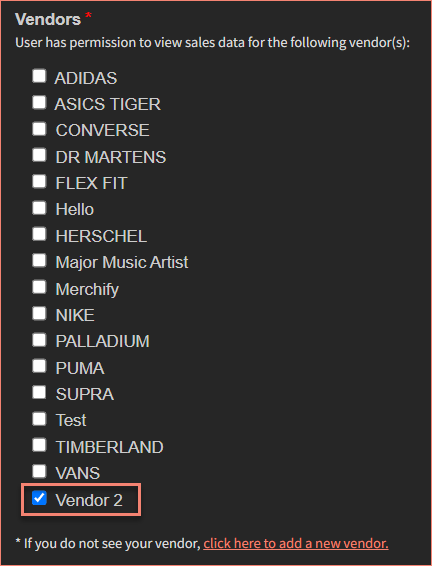
- Check the box for the vendor in the Vendors list.
- Specify view permissions.

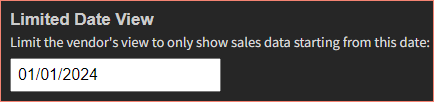
- (Optional) Limit Date View.
- Click Create new user.
Important: VendorPayout does not automatically notify vendors of their credentials. You must communicate login details to your vendors separately.
Managing Existing Accounts
Login email is displayed in the Vendor Login Accounts column.

Click Edit to edit login info.

Click Delete to remove.

Accidentally deleted a vendor account? You can restore it through the deleted vendors page.
Embed Login on Your Shopify Store
You can embed a VendorPayout login form directly into your Shopify store by adding HTML code to a new page. This allows vendors to log in without leaving your website.
- Log in to Shopify admin.
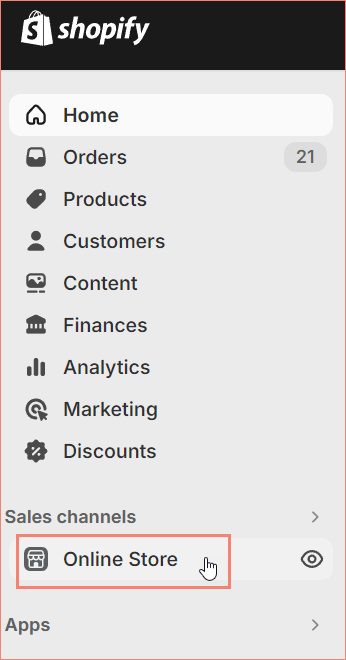
- Go to Online Store.
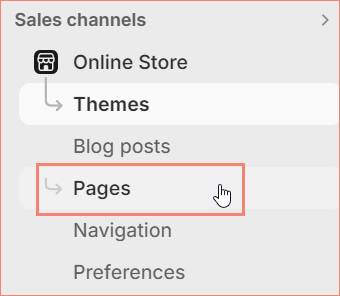
- Select Pages. Click Add Page.

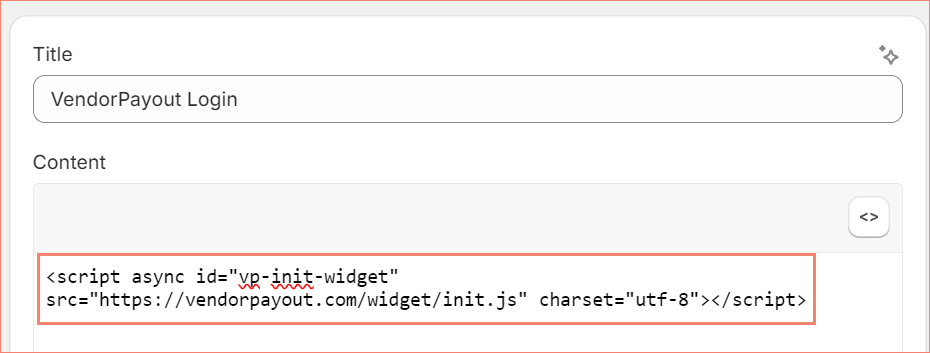
- Enter a title. Click Show HTML.
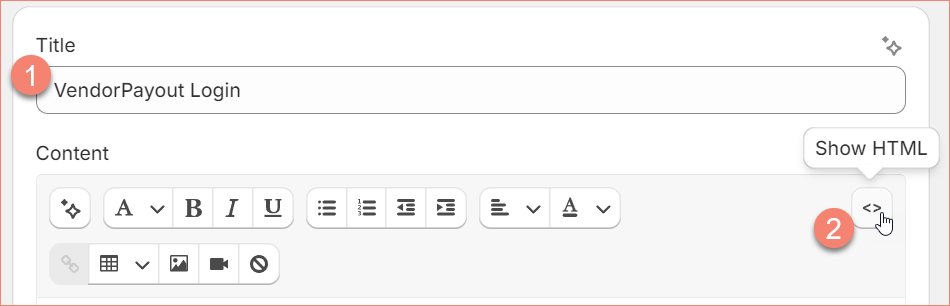
- Paste the embed code.
- Click Save.

Vendors can also log in directly at vendorpayout.com/vendor-login.